This is how it all went down.........
as with most of my projects blueboard was involved
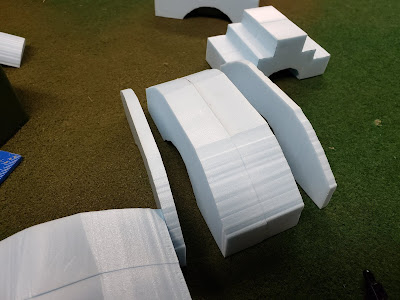
after cutting the underside arches I sketched out the shape of the sides that I wanted
I then cut these freehand (I am WAY out of practice)
I then sliced two thin sections off of the sides of the block
these will form the walls of the bridge
the next step was to turn the block on its side
and draw the road surface on outline
then I sliced off the excess thickness
you can see how bad my freehand work has become due to neglect
a spot of hot glue and the sides are back in place
rough cut bridge ready to go to the detail shop
this all took about ten minutes
I decided that the sides were too high on some so they got trimmed down
then I grabbed a wide-tip ball-point pen and started drawing on the bricks,
originally I was going to cut a zillion tiny stones and glue them on
but I thought that I might want to do something with the rest of the summer
after I had started on drawing on the inside it occurred to me that it would have
been easier if I had drawn the blocks before I glued the sides on
still it only took about ten minutes to get things sorted
the soldiers appreciate dry feet
28mm Wargames Factory Marlburians for size
I will make longer bridges next


Creative and effective work on these bridges, nicely done!
ReplyDeleteGood work!
ReplyDeleteNice tutorial and those came out really well. I imagine if you wanted a smaller scale you would do the same thing but in miniature. Or more miniature. You know what I mean. 😀
ReplyDeleteVery nice!
ReplyDelete