As so often happens to me a request for some unusual terrain from a friend saved me from the "Curse Of Idle Hands". In this case the stimulus was provided by Zhodani Commando who asked if I could build some Native America Longhouses for use with his 28mm Ottawa figures. I took a moment to consider the basic structure (a long narrow building with a curved roof and either bluff or curved ends, barely more complex than a box) and agreed. As usual I forgot to consider the finer details, as we shall see further down the page.

I consulted my photo collection (taken at various parks that I have visited) and dug through my pamphlet pile (most State and National Parks have tons of free pamphlets covering an enormous array of subjects) to get a firm idea of what I had agreed to build. A quick Google search provided some video of people actually building modern replicas of these historic structures. I was stunned to discover that they were often one hundred and twenty to two hundred feet long and as wide as fifty feet! At a 1/56th scale these simply would not fit on an average gaming table. Drastic reduction in dimension were demanded so I decided to work in the OTHER direction; assuming that the average gaming table is 6' x 4' the village probably shouldn't be more than 12" x 18" overall. Given that foot print I would be looking at models around 4-6" long and 2" wide so that there would be enough models to look like a village rather than a homestead.
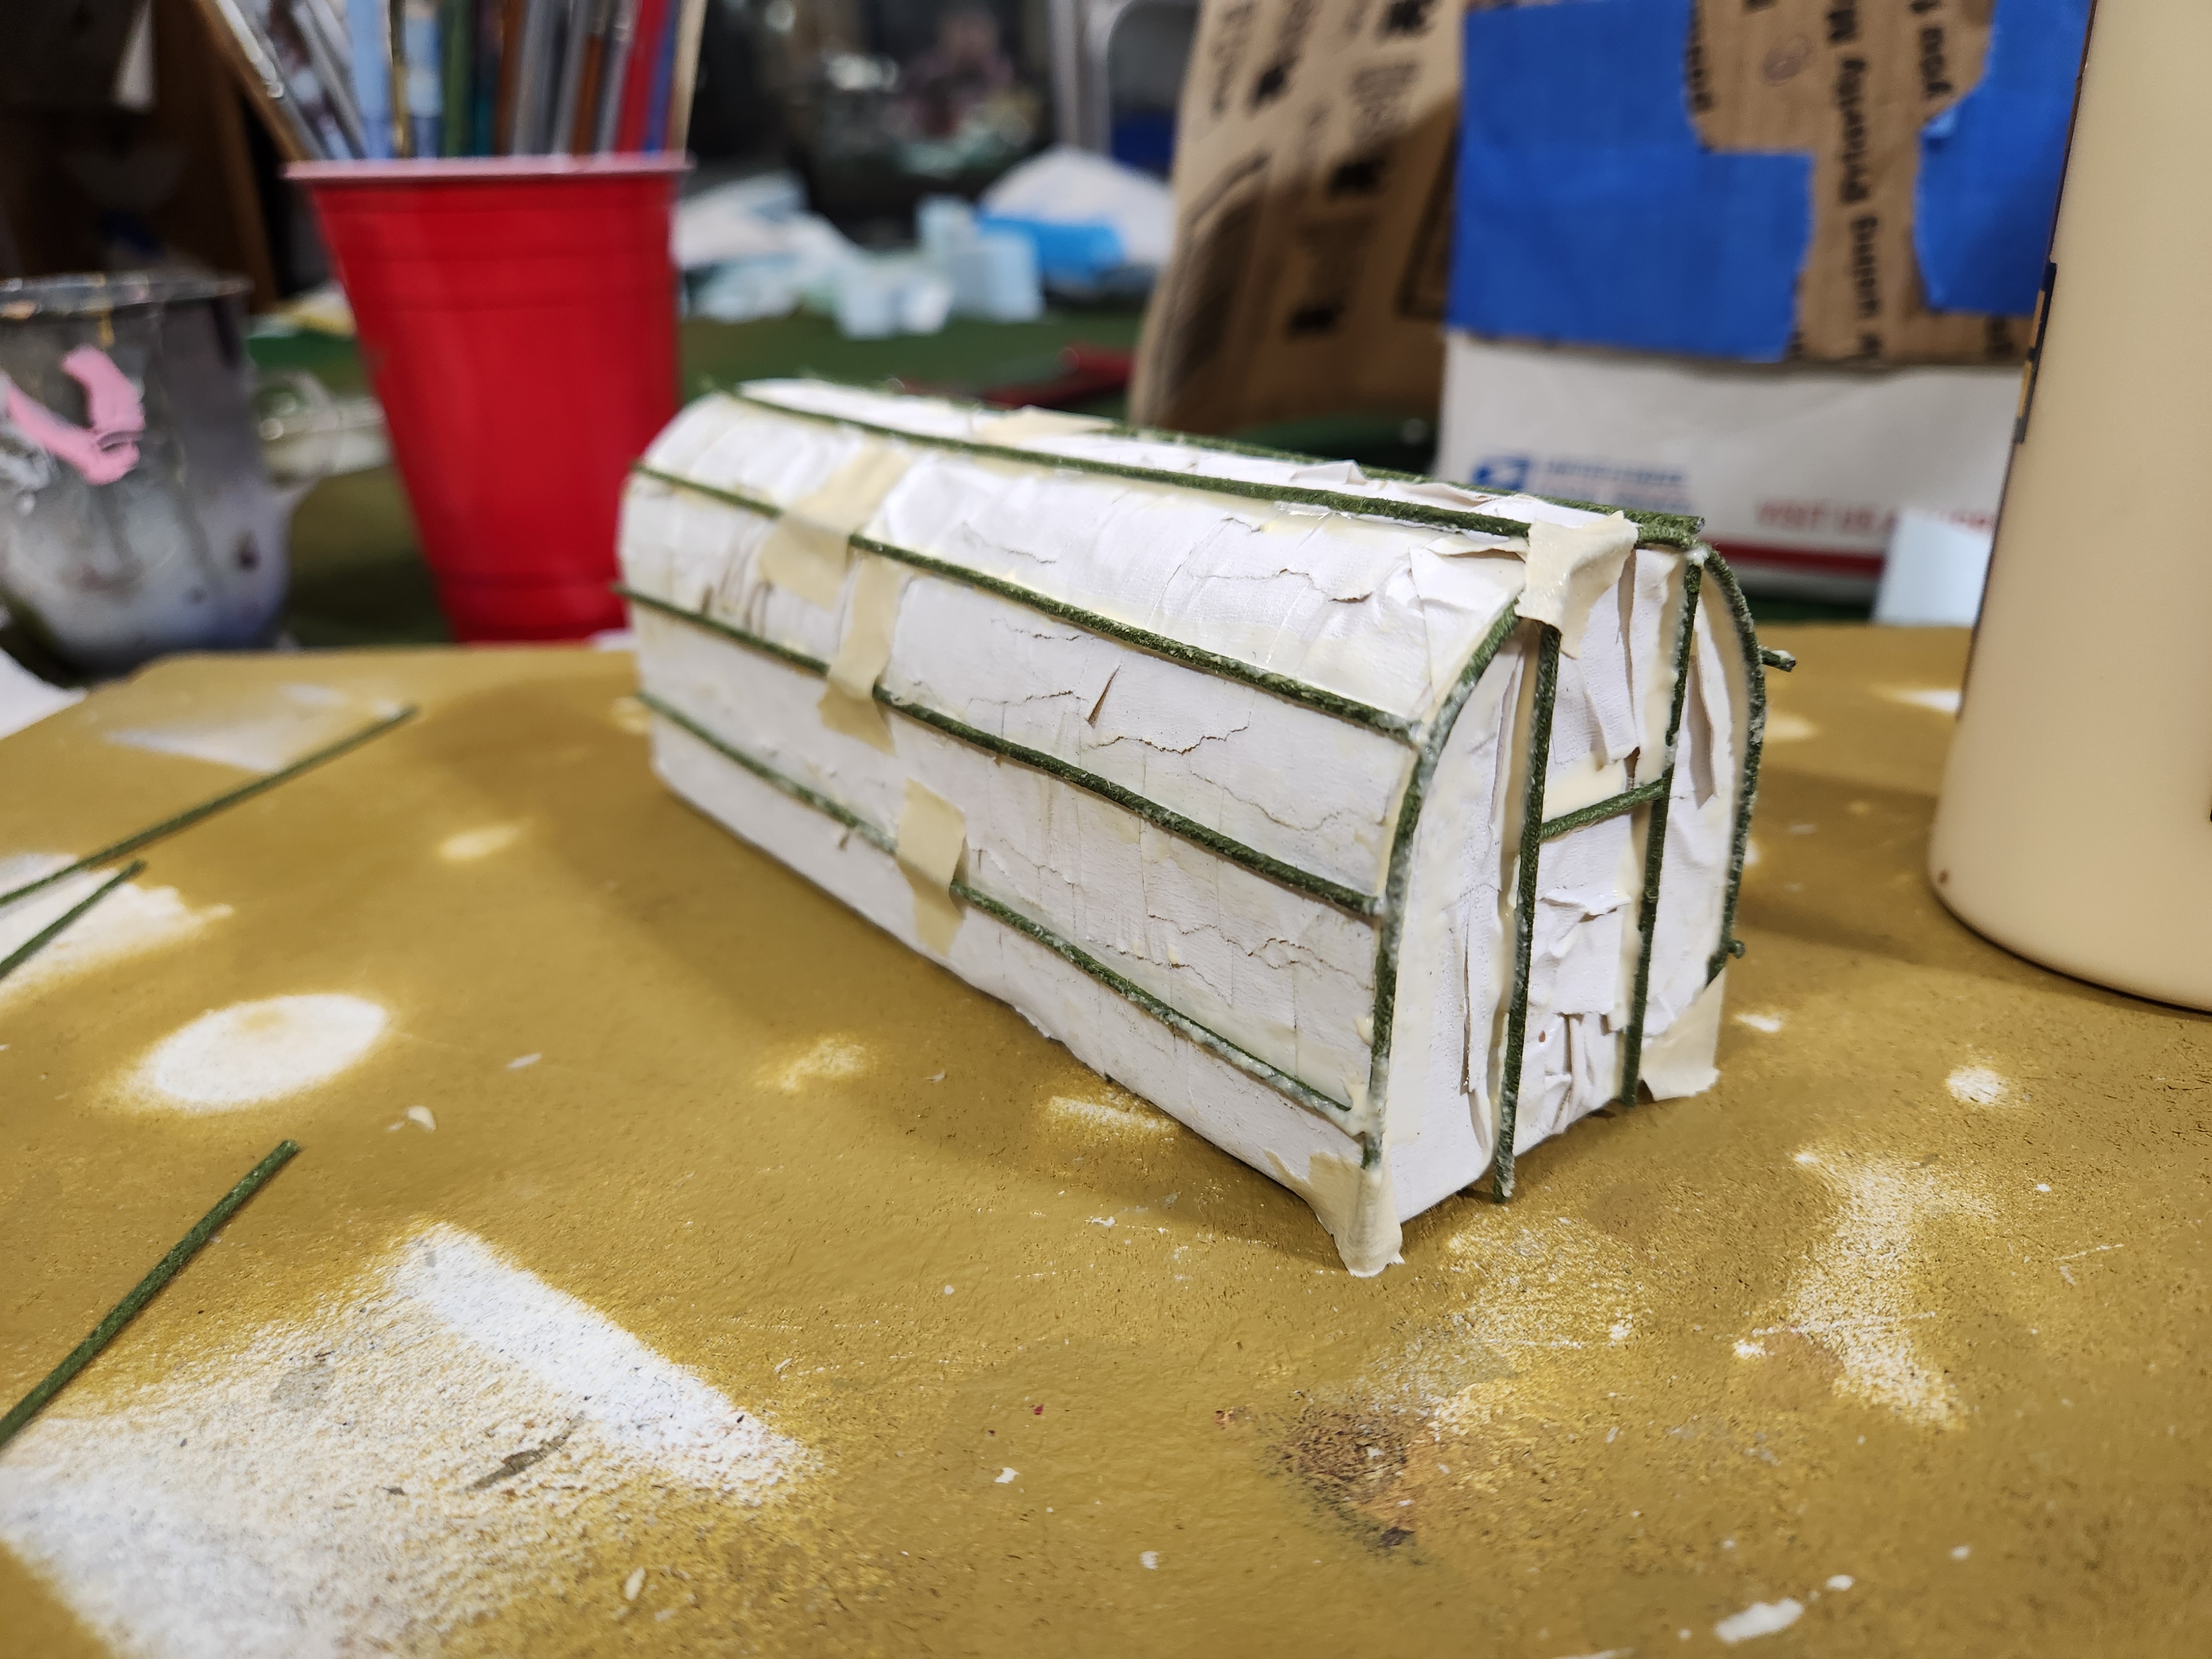
With those dimensions in mind I began working out the mechanics of making the models. Although I COULD make the curved surface of the top half of the house with the assistance of Proxxie I decided to save time (and sanity) by buying a cylinder and splitting it lengthwise. The width of the cylinder would dictate the width of the lower part of the structure which I could cut out of stock blue-board. A quick trip to a local craft shop provided a 2" diameter cylinder that was 24" long. A few seconds with Proxxie and I had the basis of my buildings.


Dude, I forgot all about this. You’re a genius and master crafter. Very cool so far!
ReplyDeleteCheers
Kevin