Rigging on model ships is one of the sore points; none and the model looks ridiculous, the proper amount and it is unplayable. A delicate balance must be found. One of the trademark things about an old school sailing vessel was the ratlines, the rope ladders that the sailors used to climb aloft and adjust the sails. I have seen people use screening, netting and variations on gauze, some of which worked well enough in smaller scales. The problem being is that this is 28mm (heroic 28mm at that) which means that the real scale is between 1/60th and 1/48th. Far too large to even try to get away with using rabbit fencing or screening. For me at least there was but one path to follow; making it the way the real thing was done, in other words The Hard Way.
In reality it isn't nearly as bad as one would think, a bit of thought and preparation and it becomes a simple task (demanding of some careful attention but far easier than painting buttons!). As with anything that needs to be made to a regular size and shape a jig or frame is the way to go, see the picture below:

The horizontal lines are 1/2" apart, the posts are arts and crafts spools purchased at Hobby Lobby and the board is just a bit of scrap plywood I had lying about the workshop, for a single-use you could easily use heavy cardboard as your backer and push-pins for the posts. The lower row of posts are the ends of the ratlines that tie into the dead-eyes (more of which in a later post) the two top posts are the ends that attach to the mast or crow's nest. As I am going to be making at least five sets of ratlines I opted for a sturdy set up and glued everything solidly in place.
The next step is to identify the parts and describe the process, as pictures are worth a thousand words (and I do dearly hate typing) this will be a largely pictorial set of instructions.


loop the line under Post #4L then take it up to the inside of the inner top post, pull it snug
then loop the line under the outer top post and then back over the top of the inner top post

after passing over the inner top post bring the line down to the inside of Post #3L,
snug it up and then loop it around Post #5L
 after looping around Post #5L bring the line to the inside of Post #2L
then up over the inside of the inner top post
 loop the post under the outer top post and then bring it over the inner top post
and down to the inside of Post #1L, tie off the excess line on Post #5L
 the process is the same for the other side, tie a line to Post #5R
 pass the line under 1R and then up and over the inner top post,
loop it under the outer top post and pull snug
 bring it down on the inside of Post #2R and the loop it around #5R, pass it under #3R and then up to the inner top post, again pull the line snug before you loop it under the outside top post
 pull the line down to inside of Post #4R and then tie it to Post #5R,
being sure to keep the line tight
 when you are done it should look like this
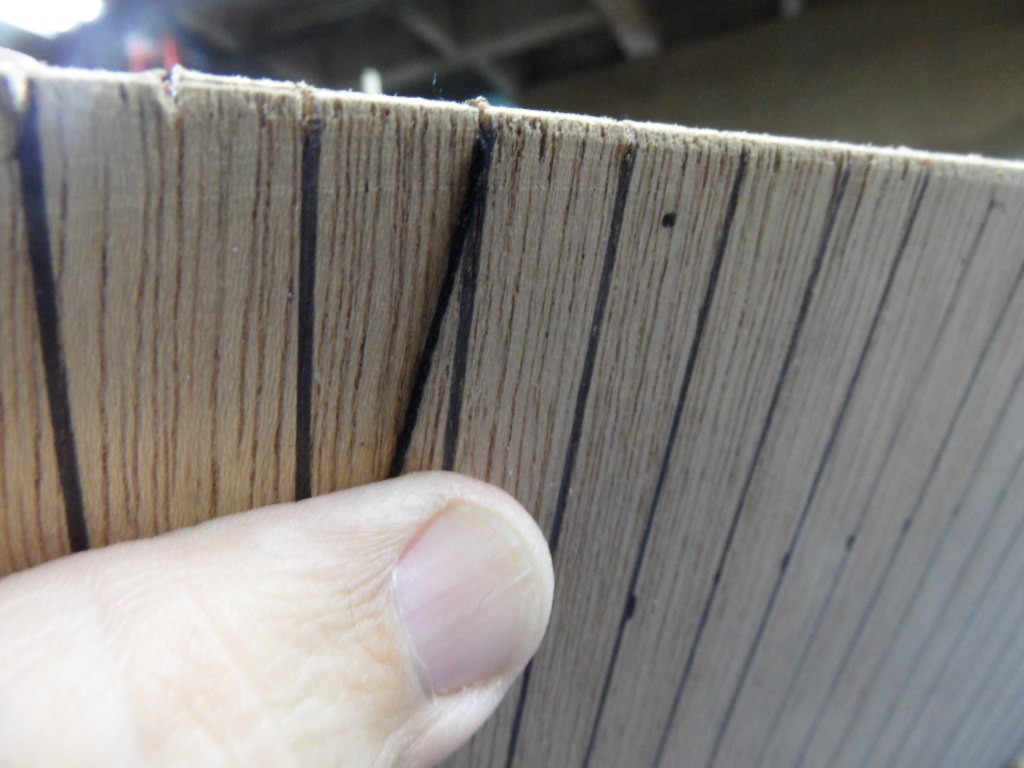
 I forgot to mention this earlier, cut a deep notch at both ends of each of the parallel lines,
I used an X-Acto blade but a utility knife would work fine as well,
you are looking for a deep narrow cut
 because we are going to anchor our crossing lines in that notch with a big knot tied in the end of the line, this line should be about six inches longer than your board is wide
 pull the line deep into the notch to ensure that it doesn't slip
 pull the line so the knot is drawn tight against the board
 the parallel horizontal lines will help keep the pattern even
 loop the line around the #4L line and then snug iut up and tie it
 no need for fancy knots here lust a simple cross-over will do, the big problem is that the knot will tend to move toward the end you are pulling on which will leave you with loose ratlines
 looking something like this, yuck!
 you can avoid unsightly loose lines by tugging the loop of the knot back against the direction you are pulling using, the back edge of a razor knife or a long straight pin. let the knot close on the tip and pull it away just as the knot closes
 in no time you will be turning out tight , straight ratlines
 continue the process across the centerline and tie off the right hand side as well
 secure the loose end pof the line by tugging it firmly
into the notch on the other and of the drawn line
 you can now make minor adjustments to make sure your line goes straight across
 then tie on a second line, and a third and a fourth, as you get to the narrow top end you can simply tie the line to the outermost and innermost of the upright lines
 my early efforts were not so carefully disciplined and ended up looking pretty sloppy
(they do look better when under tension, but still not good)

then up over the inside of the inner top post

and down to the inside of Post #1L, tie off the excess line on Post #5L


loop it under the outer top post and pull snug


being sure to keep the line tight


I used an X-Acto blade but a utility knife would work fine as well,
you are looking for a deep narrow cut


into the notch on the other and of the drawn line


(they do look better when under tension, but still not good)
There you have it, simple and a fair bit less tedious than painting buttons on 28mm figures, at least in my book!
Impressive and creative job!
ReplyDeleteIncredible! great job!!!! :-D
ReplyDelete