
the smokestacks, cranes and ship's boats really crowd the top of the superstructure

which really isn't a problem as the real ships had the same situation

the captain is concerned over the lack of railings

but otherwise he likes what he sees
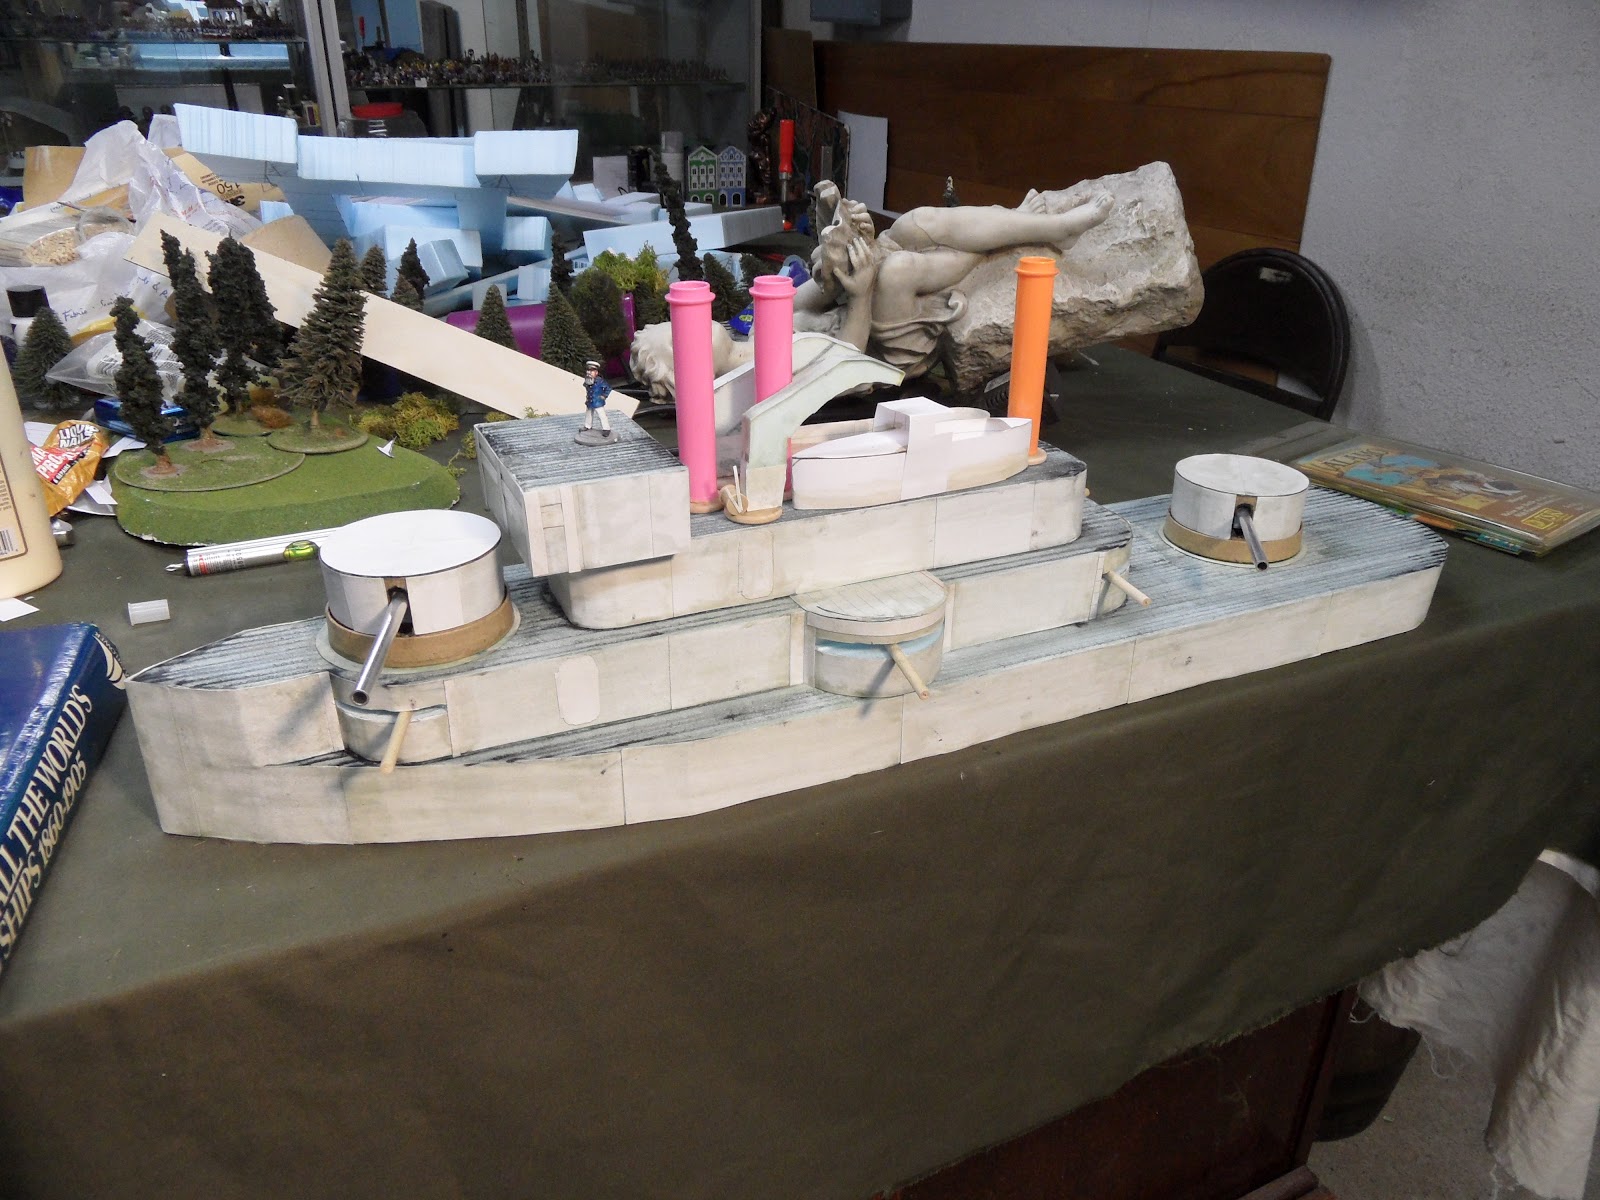
another point of concern, there are no controls on the bridge

railings in the offing....

spacing them evenly without using a measure of some sort was surprisingly easy

I made the "railing widget" to ensure the stanchions were of uniform height

and this is how it is used, the pins are left standing tall
and are pressed down to a uniform height by the little step in the widget

looking better....

.......let's see if I can run the lines without going nuts...

it does seem to be getting there

a decent broadside for a small ship
Smashing!
ReplyDeleteColour schemes for that period vary greatly, generally wood grain on the decks - and varying shades of white, black and grey for superstructures, depending on Nationality
Great work! Looking forward to seeing the finished product.
ReplyDeleteThis is really starting to come together. Great stuff!
ReplyDeleteGreat imagination and work.
ReplyDelete