a penny on the surface to give an idea of the fuzziness of the surface,
mind you it has been dry brushed with latex house paint
Jacques the Legionnaire wondering where the desert went
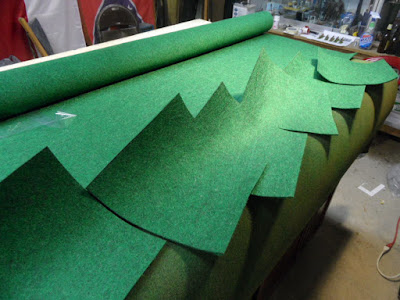
the mat folded over the top is marginally fuzzier than the bottom,
the bottom shows some grain, which is absent on the upper surface
marker works much better than masking tape for guiding my cuts
sharp heavy-duty shears are a must to make long cuts
soon I had six one foot squares to begin experimenting with
in an effort to stay true to the immortal H.G. Wells I piled books
on the table and covered them with a cloth, note the creases and wrinkles
same piles of books with the mat instead of the cloth,
sadly it seems that the mat can only bend in one direction at a time
and isn't "relaxed" enough to allow the folds and wrinkles that the cloth does
I gave one square a light dry-brush of my brown latex house paint,
just to tone it down, the green is rather shocking
then I began adding heavier stripes of earth color in rows to simulate a farm field
the mat absorbed a significant amount of paint,
this would probably have been less if I allowed it to dry between coats
but I did like the final result
next some tree bases
very heavily dry brushed with brown
the brutal way I added the brown raised the nap along the edge a little bit
I lined up some of the squares to compare the different effects
that could be achieved with different levels of dry brushing
then I cut up the last green square to test an idea for roads
there was a little off-cut that I cut into tiny bits
to see if they would work as plants in the field
not great but workable
I wet brushed paint onto one of the long strips and dusted it with fine playground sand
I confess that I was very happy with the results
so much so that I drove as Panzerjager IV down it
and the let some Spanish Militia have a go as well
the tree bases got some sand as well
perhaps a touch less sand and paint and the bases will blend in together
then I dry brushed some very pale olive over the square that I had
already brushed with brown, the difference was instant and significant
then I threw them all in a pile to get the full impact of the different effects


Brilliant ideas! Great stuff.
ReplyDeleteReally clever! Great how to sharing. Off to lowes!
ReplyDeleteGreat pics and ideas. I have seen this material at Lowes and wondered about the gaming viability. Looks quite versatile. Thanks for posting.
ReplyDeleteWhat is this stuff? Will continue to look back the previous posts.
ReplyDelete