the base unit gets a covering of card

the fighting beck on top of the tower got a coping of thin blue board

with a little practice I have learned to cut the board about 2mm thick

a quick assembly to be sure things are lining up

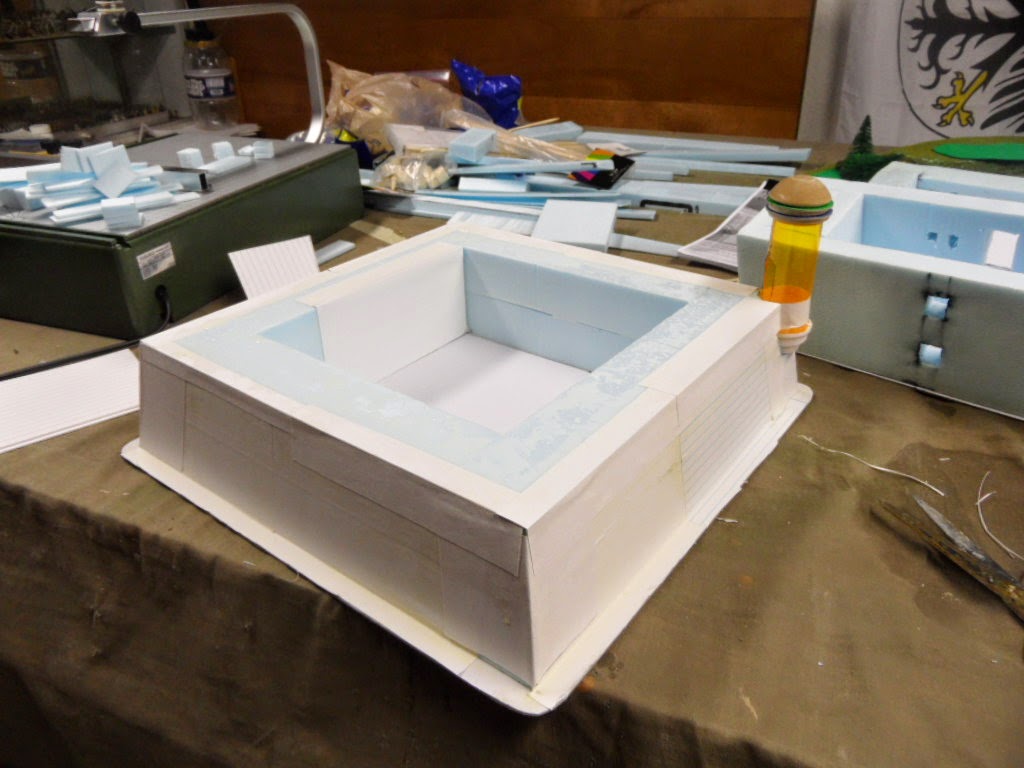
the gundeck got a layer of cardstock as well

I decked over the top of the base for added strength

rether than try to cut the card to fit the gunports I simply covered them

then cut away the paper covering the opening

as I did this it occered to me that I could have saved a step
and waited until after the cladding top cut the gunports

the card and wood glue gives the edges a crisp line and makes them much sturdier

I then cut open the ports on the eastern side

I was peacticing cutting the blue baord as thin as possible
(OK, I got bored waiting for the glue yo dry!)

then I realized that the tiny bits of foam could be used for something

tiling!

so I whipped up a hundred or so of them

and got to work

this whole thing took less than an hour

I got so carried away that I tiled the interior as well

and added a frame around the hearth

some careful fine tunng and I managed to but some even thinner

this just cried out for some sort of application,
so I made window frames

a lot of them

and stuck them verywhere

I always use ready mix wallbaord compound
available at Lowe's in small tubs

I grouted the tile

and covered over the rest of the model with a veru thin coat

the sentry tower was the worst,
I will certainly be sure to cover it with card before I start the model on any future applications

while waiting for the "stucco" to dry a dug around in the scrap pile
for the squares I had cut out of the base back at the beginning of the project
a quick visit to the Proxxon wire cutter and Ta-Da I have a dungeon ready to go

a tiny bit of trimming and it fit nicely into place

then I used the other piece to make a cave to fit into the same space

even more possibilities!

I added battens to the bottom of the gundeck to stop it warping
and to ensure a tight fit during game-play

there is enough space (just) to have the cave in place below the fort during use

more monkeying around with the foam cutter, 1/16" square strips.....I don't currently have a use for them but it was interesting to see just how thin I can slice this stuff

this sheets are crazy flexible, I am sure there is a use for this,
just not certain what it is yet!

the Proxxon cutter in all its glory
A masterpiece!
ReplyDeleteDitto!!!
Deletesuperb work
ReplyDeleteOn your recomendation, I picked up a proxxon thermo cutter - its a great tool!
I find new uses every day, I just wish my hands were steady enough to use it as a jigsaw
DeleteAstounding work. Remember the Arabian Pirates game!
ReplyDeleteYes! it could easily serve for that as well!
DeleteAnton
ReplyDeleteI am a new comer to your site, having followed a link from Miles. I am in awe of your fort.
Cheers, PD
Many Thanks
Delete