
there she sits, ready for rivets

the sponsons are just half circles of foam with a card cover

I added "steel" plates to reinforce the deck where the guns will be mounted,
but mostly to hide the joint between the sponson and the hull
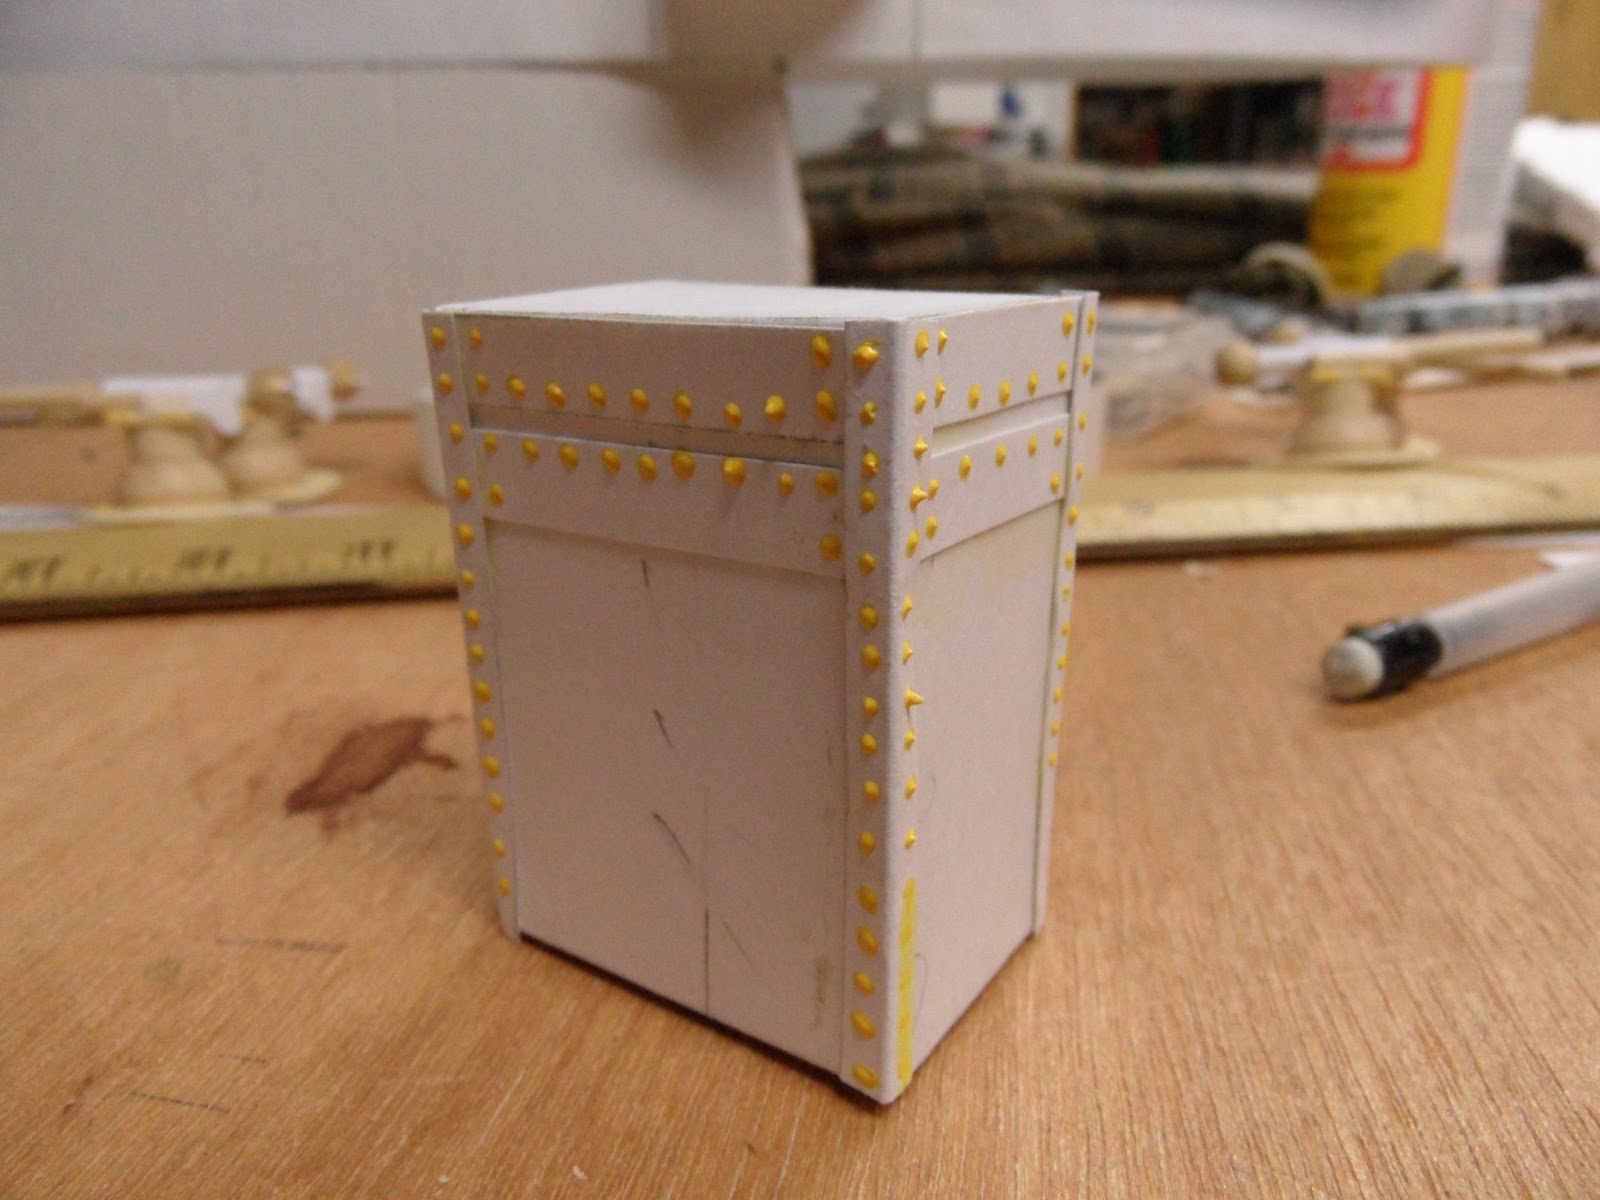
to warm up I built the armored conning tower and riveted it

just for fun I added a door to the back,
probably never see it as the flying bridge and funnels will hide it pretty well

the supports for the flying bridge were added
using the high-tech "jam it throught the deck" technique

the flying bridge was made to cover the forward beam guns,
I traced the same cap I used for the sponsons and then glued the template to a bit of balsa

after that dried I cut a 7/8" x 14" strip of poster board for the railing
and glued it around the wooden base

she is starting to look like a warship at last

the port-hole cutter was use to sink the pivot holes for the main guns

with the guns in place she is starting look dangerous

but the REAL purpose of this ship is to sink the enemy's big stuff with torpedoes

the previously built tubes were mounted on my ":universal base"

which were then equipped with a pin to attach it to the deck

that will send shivers up the spine of the armored cruiser's Captain

one last look before the hard work of rivets

I ruled out a sheet of index card in 1/4" strips and then cut them out

these will form the basis of the joining plates on the hull

they were added to break up large blank surfaces,
and cover the joints between sheets of card

the source of my rivets, T-Shirt paint,
I got mine at Michael's Arts & Crafts store

always warm up a bit first

then off to the rivets!

more rivets, no real science to where I put them,
I just try to add them where I think they would be holding things together

then it was back to the "Funnel Issue"

two really big ones?

two not-so-really-big ones?

one freaking huge one?
Great work. I really enjoy the progress on your various ships. My vote is the two not-so-really-big funnels.
ReplyDeleteHave you ever taken a loot at http://www.shipbucket.com/ ? They do profiles of various ships throughout the ages. It might be worth a look for inspiration.
Chris
Given the height of the bridge I would say either the 2 really tall ones or a really tall one in the front with a shorter one behind. That way you still get the period correct tall funnels but you also add some rakish lines to the ship.
ReplyDeleteFabulous!
ReplyDeleteI am re-posting my comments from TMP here:
From an aesthetics point of view I am more in favor of the shorter two stacks or the single large stack version. You have a lot going on with the deck guns, flying bridge, torpedoes and other details that make up the model. And again I am inspired. I have scratch built many a fantasy sailing ship but I am more into VSF and Colonial gaming now of days. In fact I am planning on scratch building an areoscaf (flying ship) for a future VSF game and your building methods give me lots of ideas. I would also like to build my own river patrol boat and your blog post provides tons of information on how I might approach this.