
the straight ends of the first model seemed too plain so I grabbed a paint jar and traced it onto the plank that I was going to use for the side of the sterncastle
NOTE: THIS POST IS VERY PHOTO INTENSIVE AND MIGHT TAKE A WHILE TO LOAD

to ensure they matched I traced the original onto the part that would be the opposite side

for tight curves it is often better to jab the razor knife downward
through the foam in a sewing machine fashion

holding the parts together while sanding helps ensure uniformity

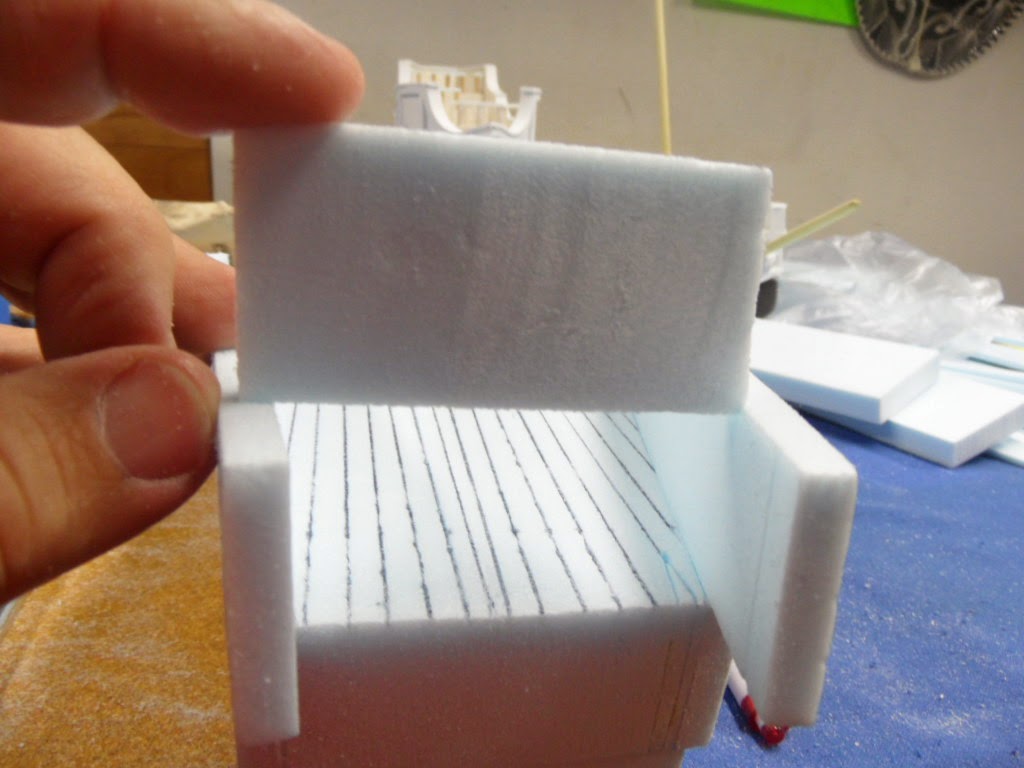
placing the upperwork onto the model I marked where the plank overhung the stern

then I switched it across to the other side so that I could mark the location
if you do not suffer from my life-long aversion to measuring
you could just as easily have used a ruler

one side in place, if you are using hot glue for this part be careful to use very thin strands as it will ooze out the sides and is very uncomfortable to wipe away while still hot and nearly impossible to remove once cooled

be sure that the upperwork conforms to the shape of the hull
you can see the mark I made to ensure that both sides are equally distant from the stern

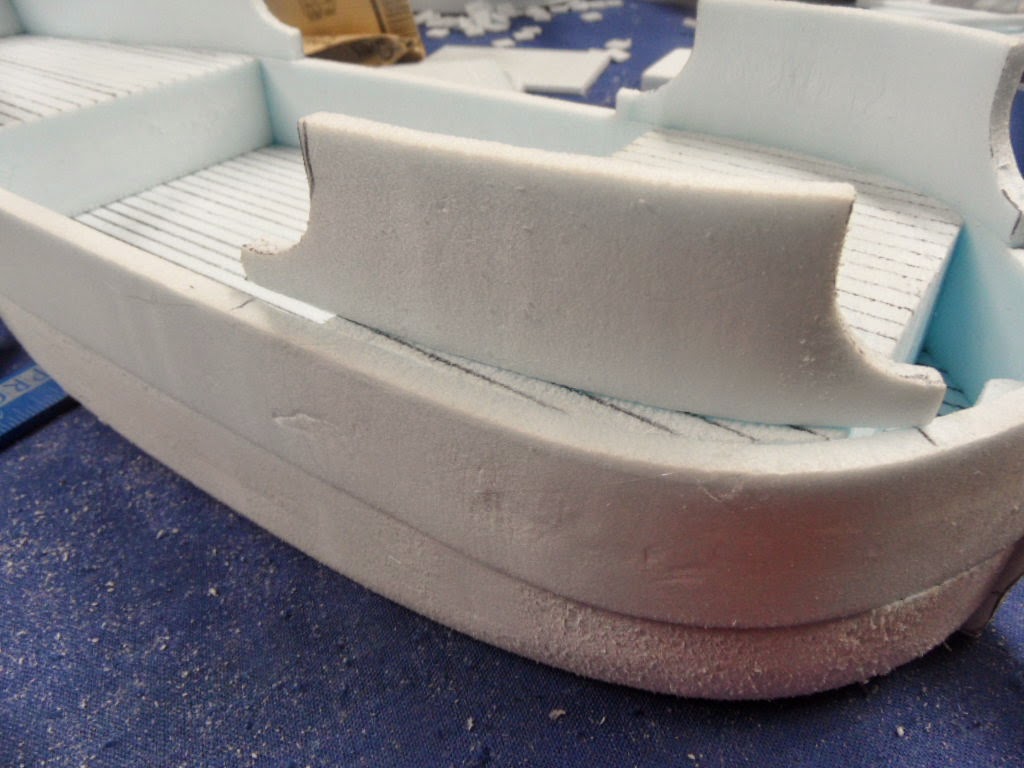
with both sides in place we must now enclose the back, carefully cut a plank so that the angle matches the taper of the hull

then (if you are like me) sand it to get the angle right

hold the plank across the stern and mark the width of the gap on the piece
(or just measure it with a ruler)

the mark helps ensure that the angle is correct

I cut mine just a bit large and sanded it down to fit
OK, it was more than just a "bit" large

double check the fir before gluing the part in place

because I am in a hurry I used the hot glue and so we are done

if you want time to be sure everything is aligned and true I would suggest using a good quality wood glue and taping the parts in place while they dry

trim away the overhangs and give it a quick trip past the sandpaper to even off any rough edges

with the sterncastle completed we can now consider the forecastle

if you have decided upon railings there are two ways to go about it
well, actually, there are probably a thousand ways you could go about it,
I will show you two ways; the first uses 1/4" square stock

cut and carefully bend the stock to match the curve of the hull
, you will need an upper and lower rail

then you need to cut the upright parts,
I used a 28mm Pirate figure to ensure that the railing was the correct height,
use you first section as a marker for the rest of the parts
( or go ahead and measure it with a ruler)

after marking the length make a shallow cut all the way
around the stick to avoid having chunks come off of it

after you have enough uprights it is now time to glue them in place

start with one on each end

then fill in the space between, being careful to evenly space the uprights

after the glue has set add the top rail

a quick bead of glue along the edge of the hull and you are done

the second way of making the railing gives a more scaled and elegant look (but it is one I would not greatly recommend) involves tracing the forecastle's outline onto one of the sheets of thin stock

then setting an inner radius

sketching the dots together

a lot of careful cutting around the curve

it came out OK, just a little rough

nothing our old friend, Mr. 60 Grit, can't fix

repeat the same on the inside curve

trim the end to square

a quick sanding

and back to the sheet stock to trace the matching part

don't try to use the edge from the last cut, it won't work out right....it's a geometry thing
after you have the top and bottom rail but you add the uprights just like the other railing and glue into place on the hull

for this model I decided on solid upperworks for the forecastle

after cutting to length I traced mu curve

more tight radius cutting,
if you have a hot wire cutter and steady hands this would be a great time to show off

assuming that you probably don't have one I went ahead and followed the harder path as well

side one completed

and promptly traced onto another piece of 1/4"plank

it wouldn't pay to have different curves on either side of the boat

again sanding the parts when they are held together
ensures that they will be matches of one another

rolling a small-section tube or rod along the back of the part will help it accept the curve

checking the curve one last time before gluing
this side as well

I burned myself pretty bad because I let a lot of glue spurt out and wiped it away with my finger
this is one of the reasons that the glue gun and I don't get along

I found a use for that railing I made earlier!

most of you got a small assortment of blocks in your kit

they can be used for companionways

or deck houses

or the helm station

I wanted a companionway so I glued mine on right here

then I added a railing behind it

I will cut a gap for a stairway later

that vast empty deck looks pretty boring

so I grabbed a bit of sheet stock

and drew a rectangle on it (yes, I measured it with a ruler)

now I had a deck hatch

but it still looked dull so I made a frame out of some surplus deck planking

and drew planks onto it with a pen

a dash of glue

now that is a good looking deck hatch

I still haven't decided on where it will go so it isn't glued down just yet

the companionway needs a door
(this would have been easier to do before I glued it in place)

so I quickly sketched one out

cut it free
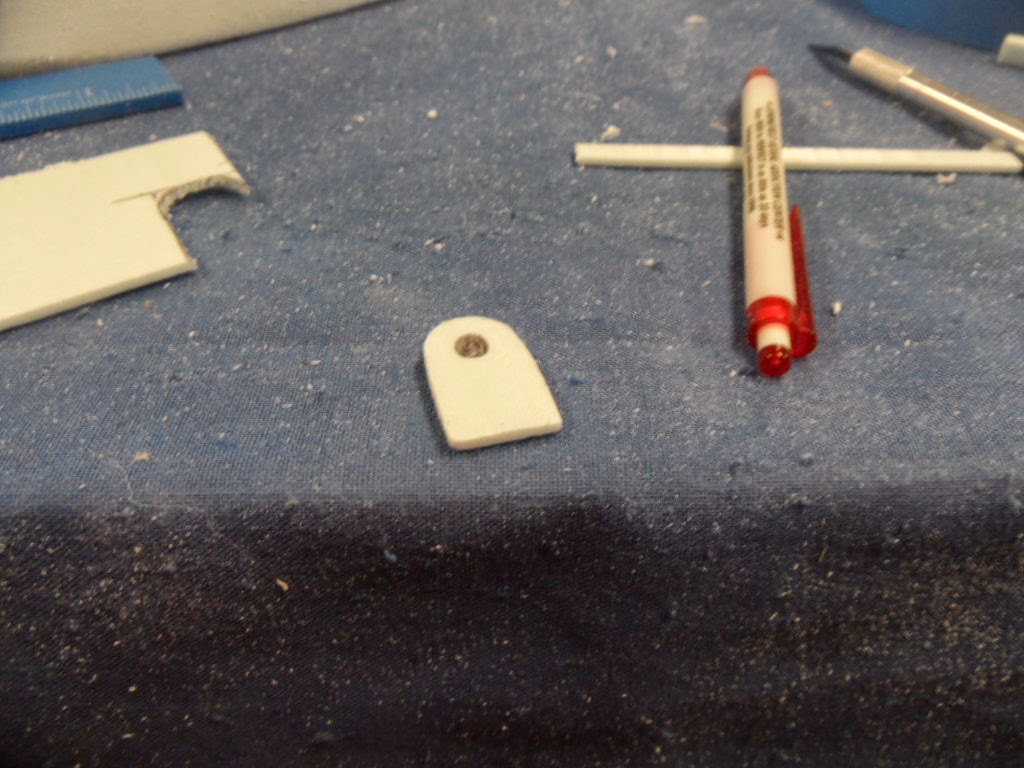
added a window with my trusty ball-point pen

a dab of glue on the back

spread it around so it dries quicker

boom, you have a doorway

the hull is now complete, the next step is sanding and filling,
you may simply skip this step if you are happy with the look of the surface of the model
Great tutorial ! Great ideas !! I'm sure that I will not build such a ship but it gives a lot of ideas to make other stuffs, I think ...
ReplyDeletevery inspirational !
Thanks !
Thank you for all the work you put into these posts. This is a great resource.
ReplyDelete